Introduction:
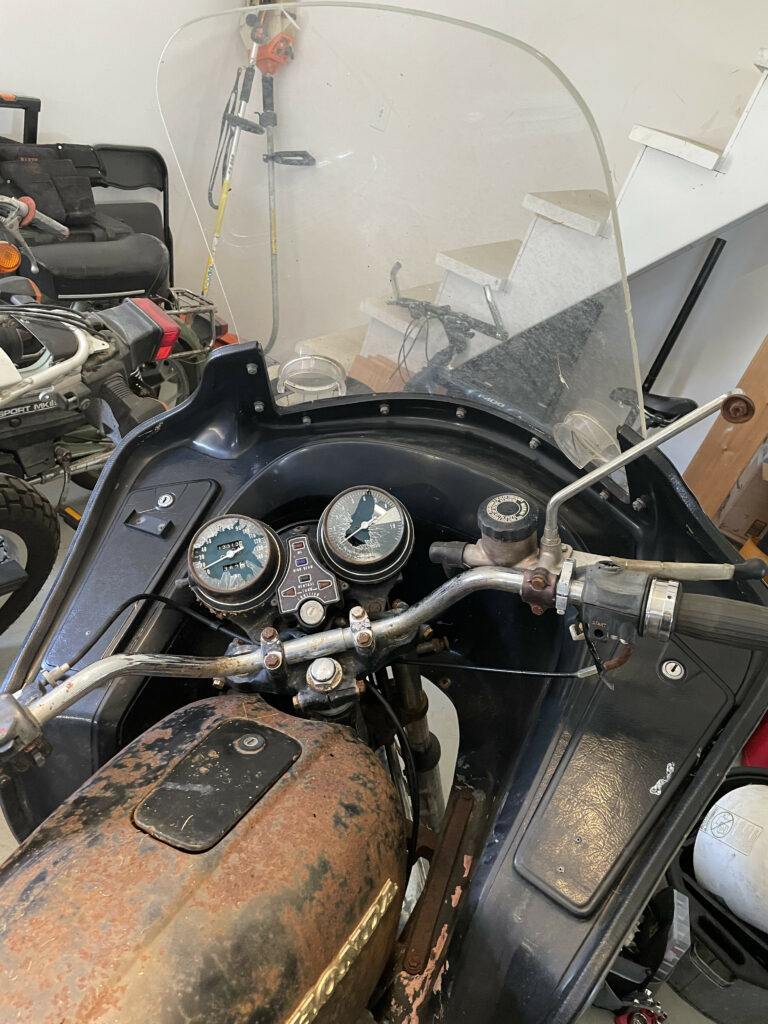
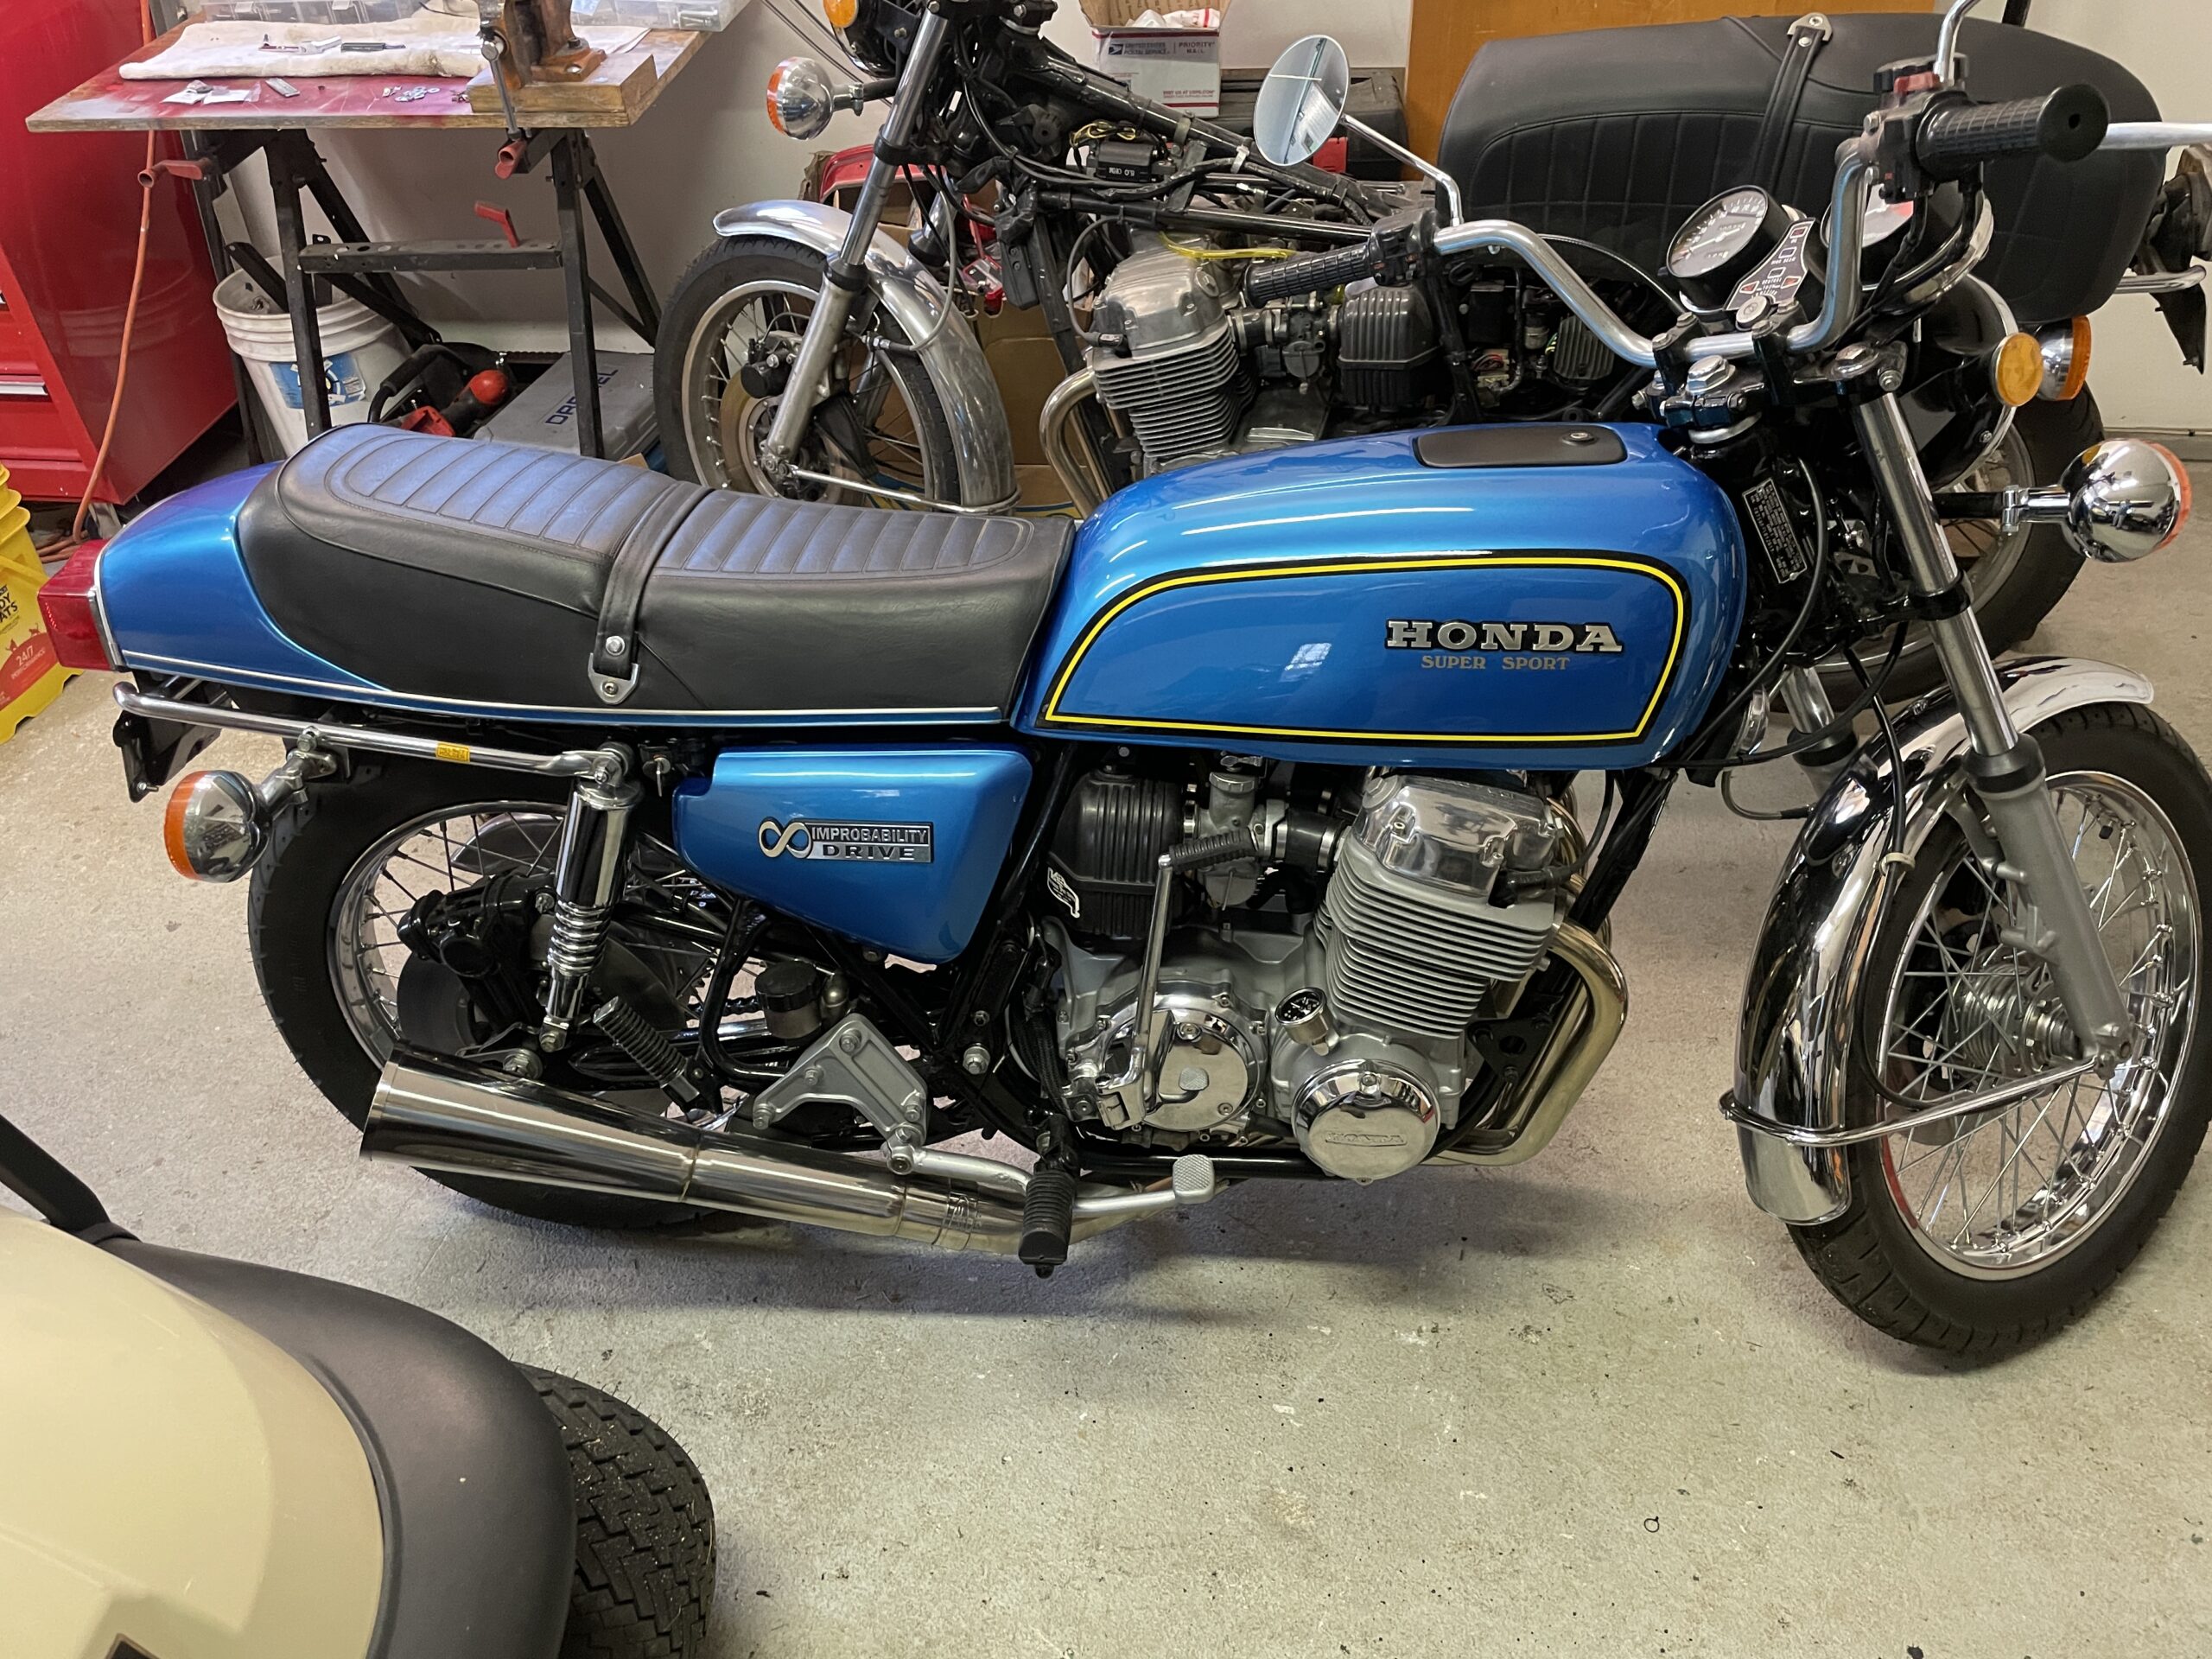
In the spring of 2021, I embarked on a journey to restore a 1975 Honda CB750F Super Sport. The COVID epidemic turned our world upside down. We suddenly found ourselves quarantined, isolated and devoid of our normal routines. I found that a good way to deal with the isolation was to keep busy with various projects. One project I took on was the restoration of a 1975 Honda CB750F Super Sport which had been sitting in the woods for more than 25 years.
I was aware of an old motorcycle located on Firehouse Road, Chebeague Island and was curious if the owner would give it to me for the purpose of restoration. He had plans to restore it but this never came to fruition. I tracked him down and asked if I could have it- to my surprise he said yes! On April 21, 2021, I pulled the motorcycle from the woods, a dilapidated 1975 Honda CB750F Super Sport, moved it to a garage workspace and began what would be a two year restoration.
I initially decided to get a parts bike to use for the restoration, a 1976 bike of the same make and model. The engine was seized on this bike and it seemed like a good fit for a donor bike. When I got it home, I started taking it apart and found all but the engine in excellent shape. I decided that I could not sacrifice it for this restoration so I decided to restore that one, too. That is another story!
Acquisiton & Cleanup:
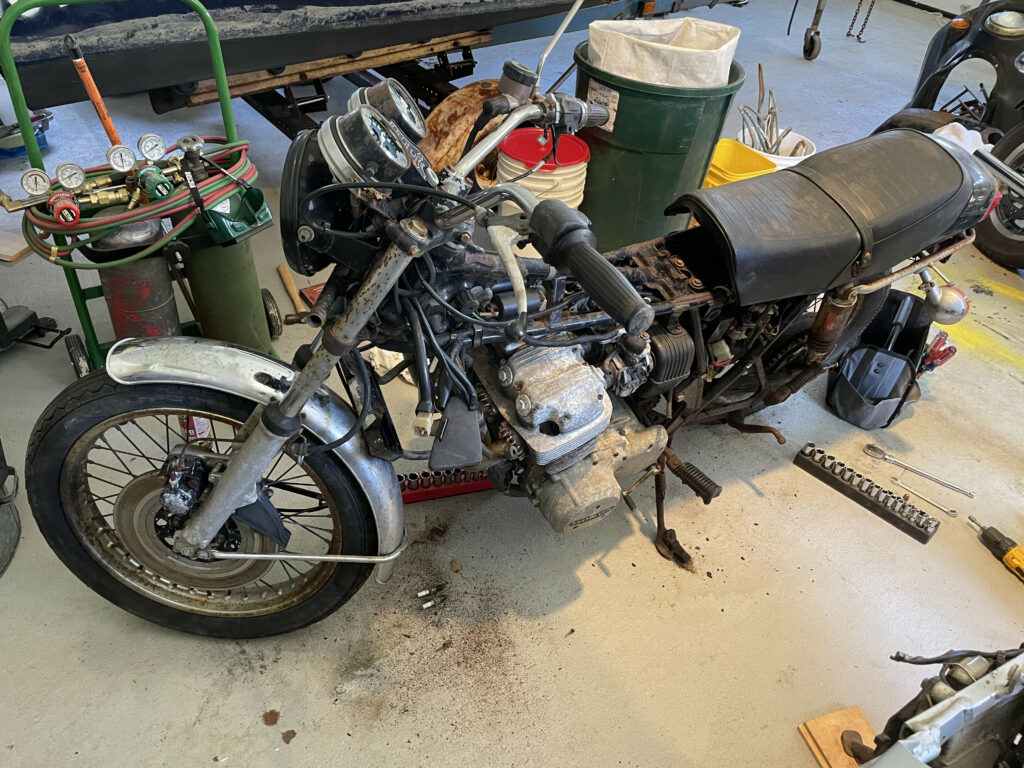
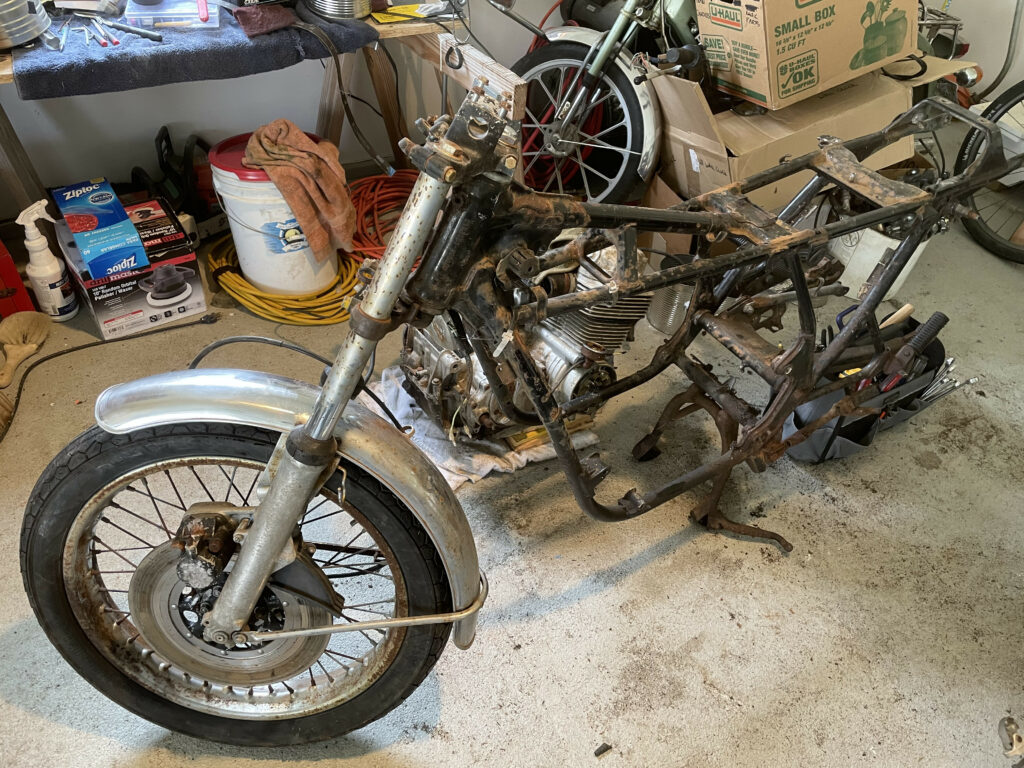
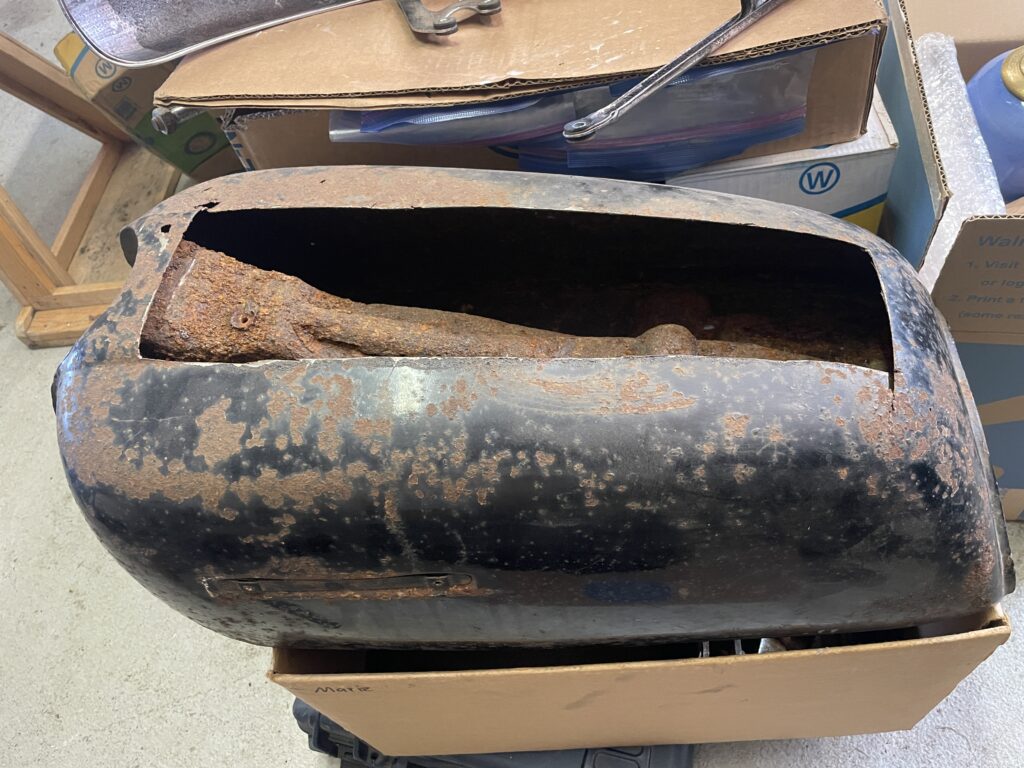
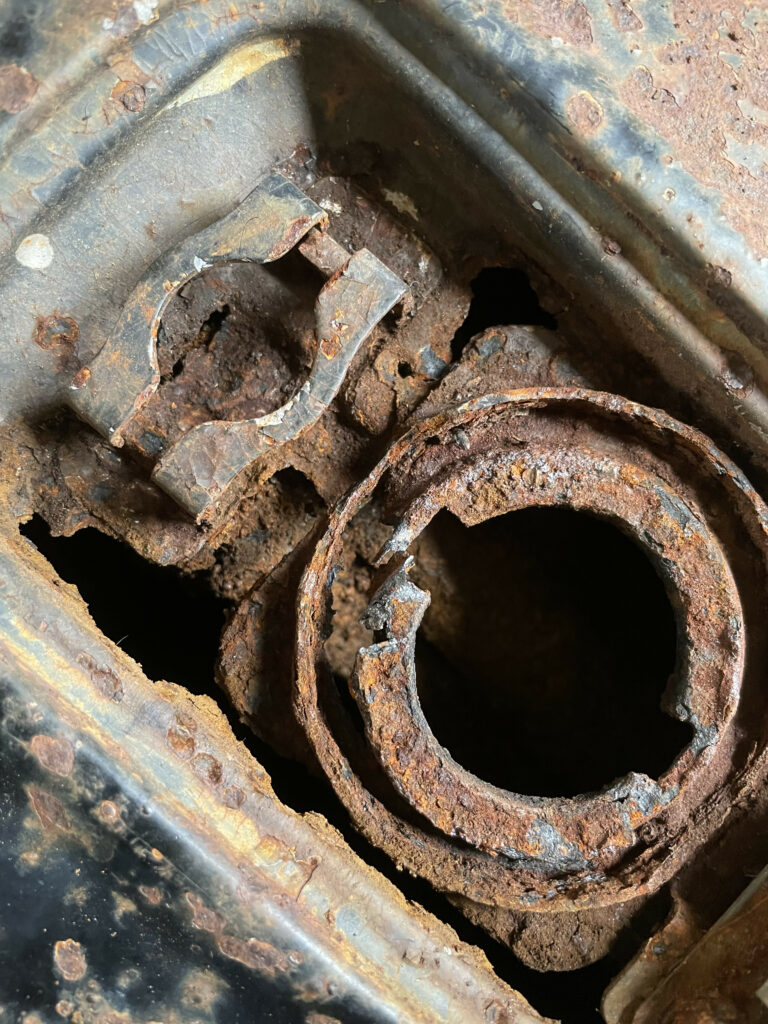
Initially I cleaned and disassembled the bike and assessed the condition. It turned out to be in much worse condition than I suspected- but the engine was not seized. In fact, the engine was in quite good condition mechanically. However, the gas tank was completely rusted out, brakes seized, wheels rusted nearly through and it needed to be rewired. Some parts were missing entirely. I stripped everything down, sent the frame to be powder coated and then began restoring mechanical systems. All parts were carefully removed, placed in plastic bags and labeled with pertinent information
Frame & Mechanical:
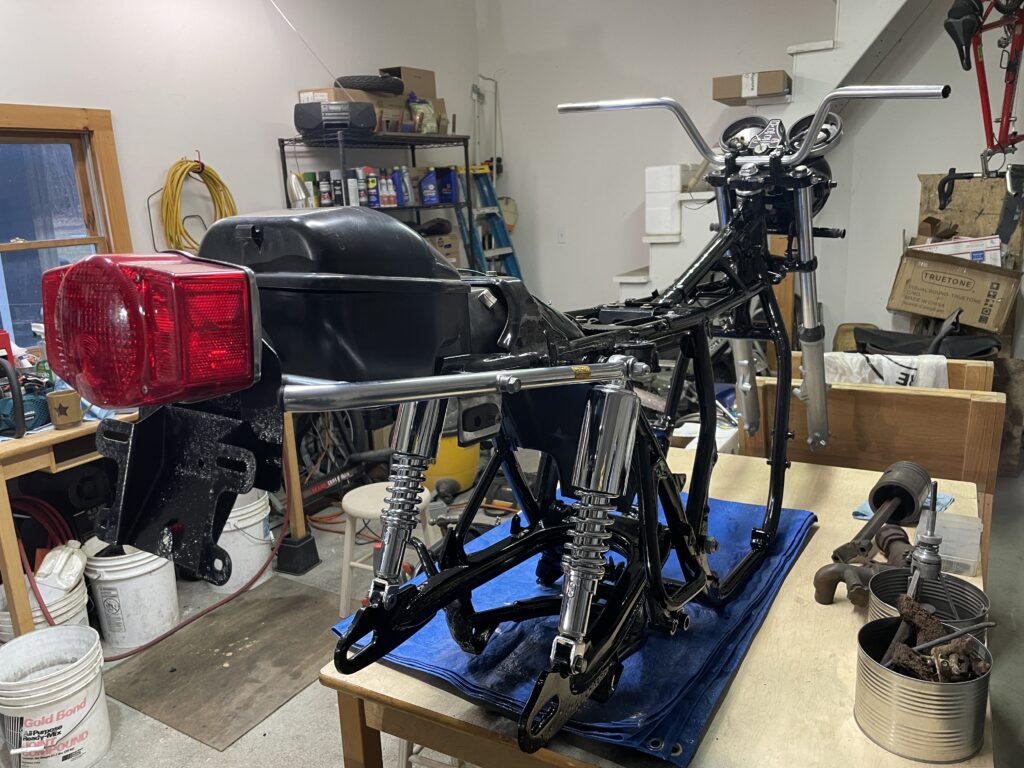
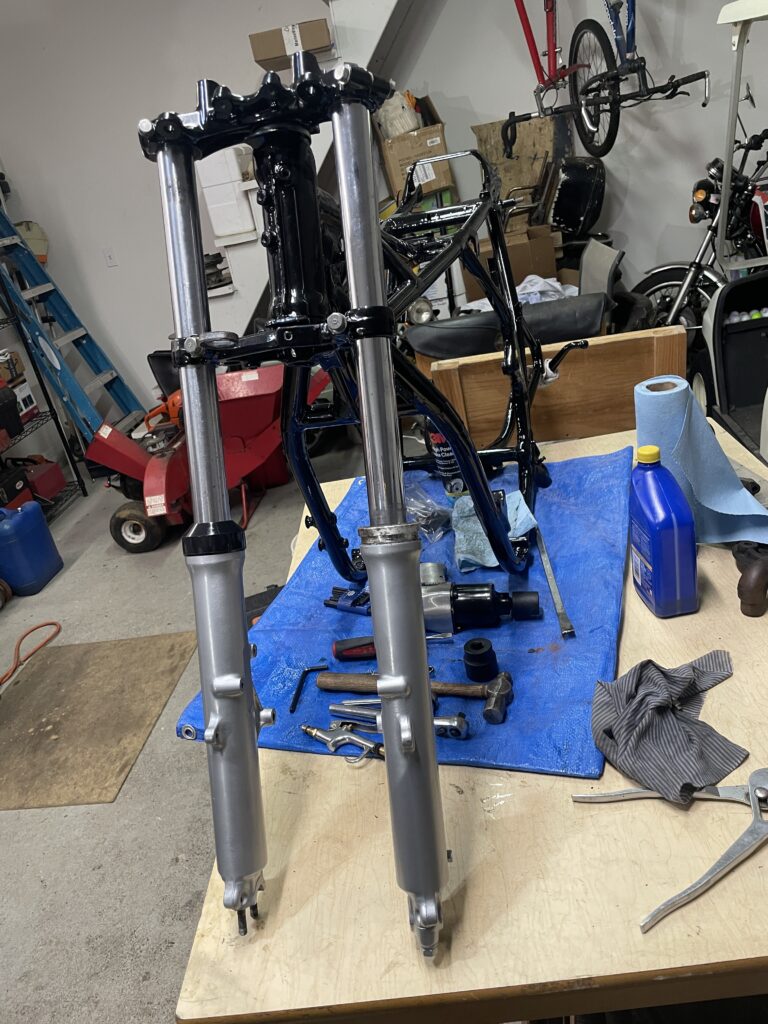
I sent the frame and other parts to powder coating, having cleaned up frame welds and removing some metal flanges. Unfortunately, this left the metal too thin in a few spots and I had to take the frame back and do some fabrication work. Although this was a setback, I completed the work, sent the frame back to be powder coated and received it back looking like new. I then started the assembly process using parts I reconditioned and aftermarket parts where required.
Electrical:
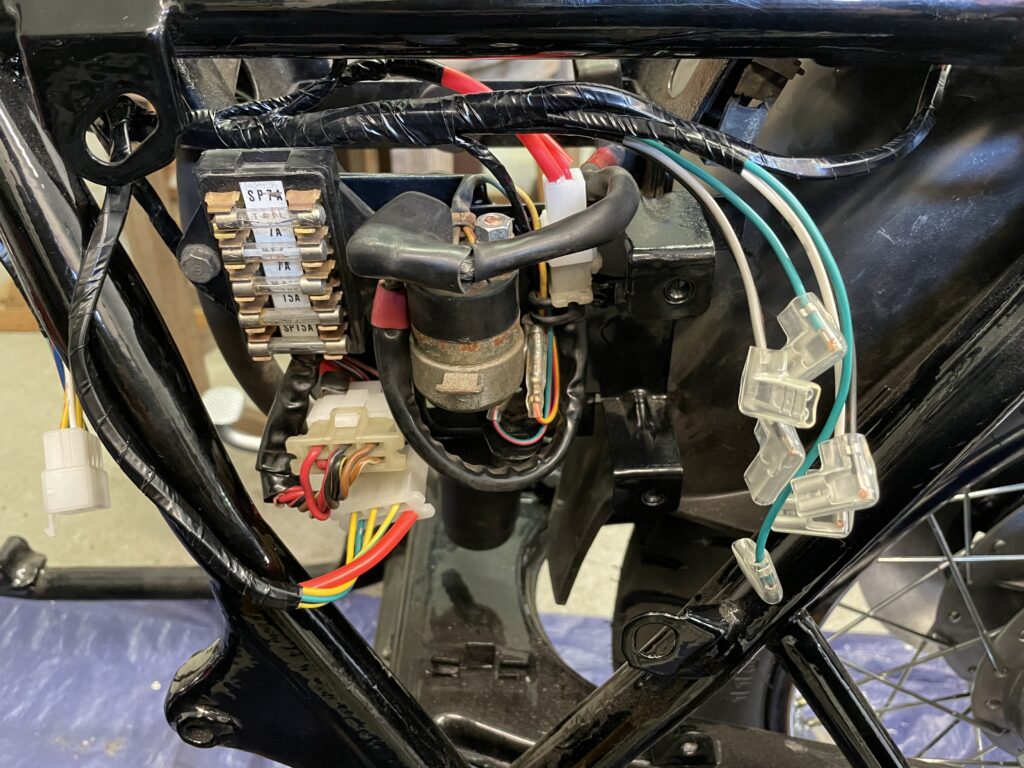
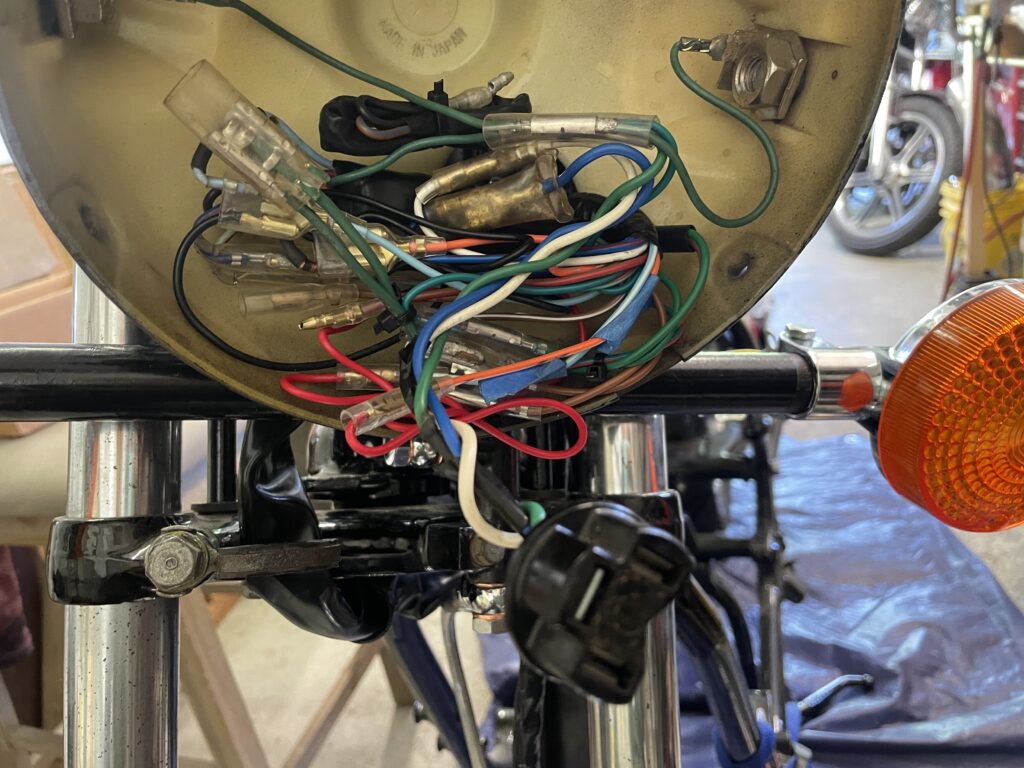
The wiring was old and brittle, thus it had to be entirely replaced. Fortunately, good reproduction wiring harnesses are available. I purchased one, rewired the bike and checked all available systems for proper operation. The control switches on the handlebars also had to be replaced, routing the wires through an original and correct handlebar. One hiccup in the process was when I discovered that the charging system would not work. I tracked this down to an improperly assembled harness connector where two of the wiring pins were swapped from their proper location. I fixed that and the system charged properly. I also installed LED lamps in all locations for safety.
Running Gear:
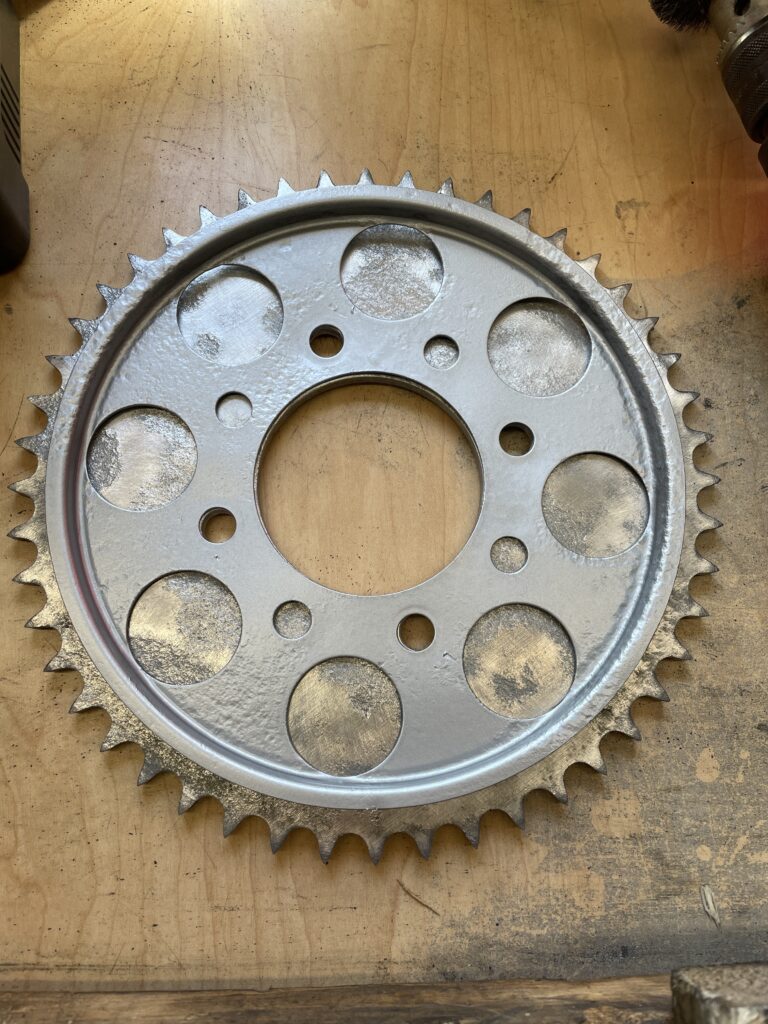
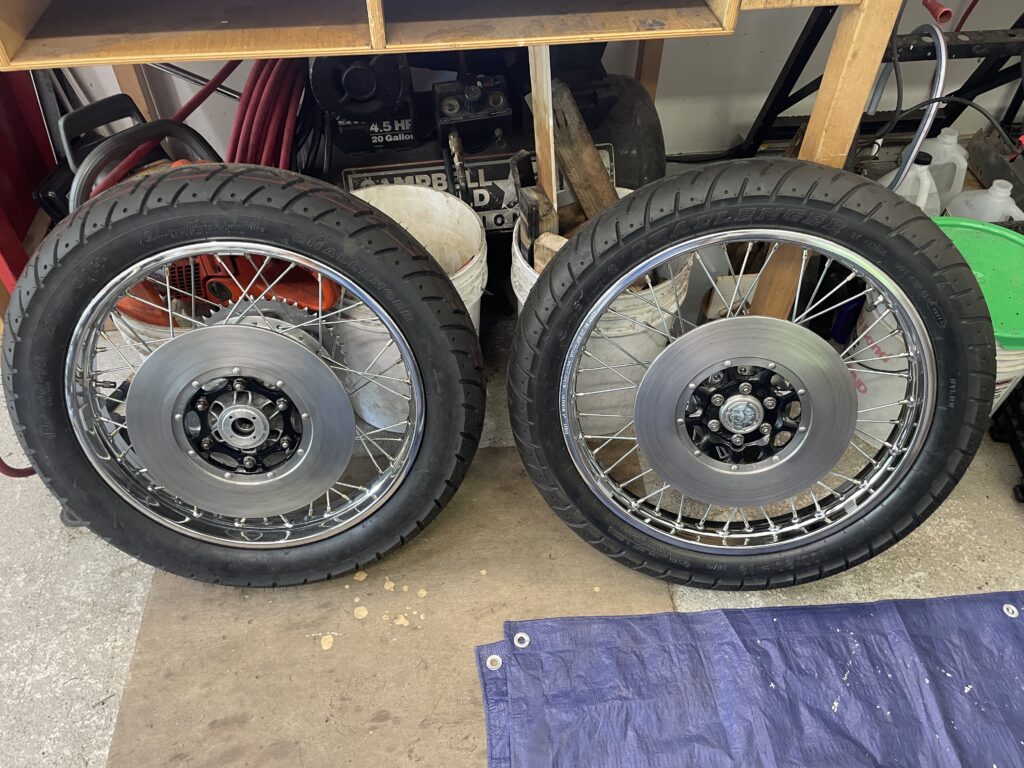
The running gear includes brakes, drivetrain and wheels. The rims were too rusty to be used so I purchased some good reproduction rims and spokes. I laced the spokes into the rims and hubs and trued them up on a stand. This was a fun and challenging process, and the wheels came out nicely. I also restored the brakes to working condition, rebuilding calipers and replacing lines and master cylinders where possible. The rear master cylinder and brake caliper are not available as an aftermarket part so I had to carefully rebuild the original ones to working condition. A challenge here was disassembly without damaging the parts. Ultimately I was able to get everything apart and rebuilt to working order.
Rolling Chasis:
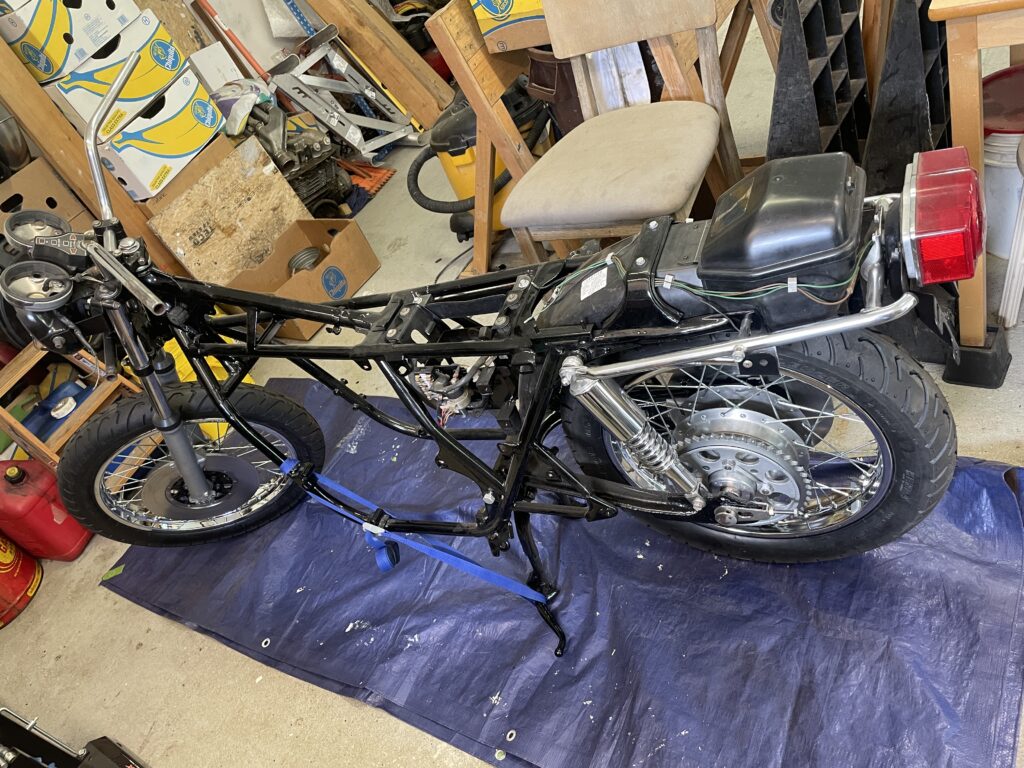
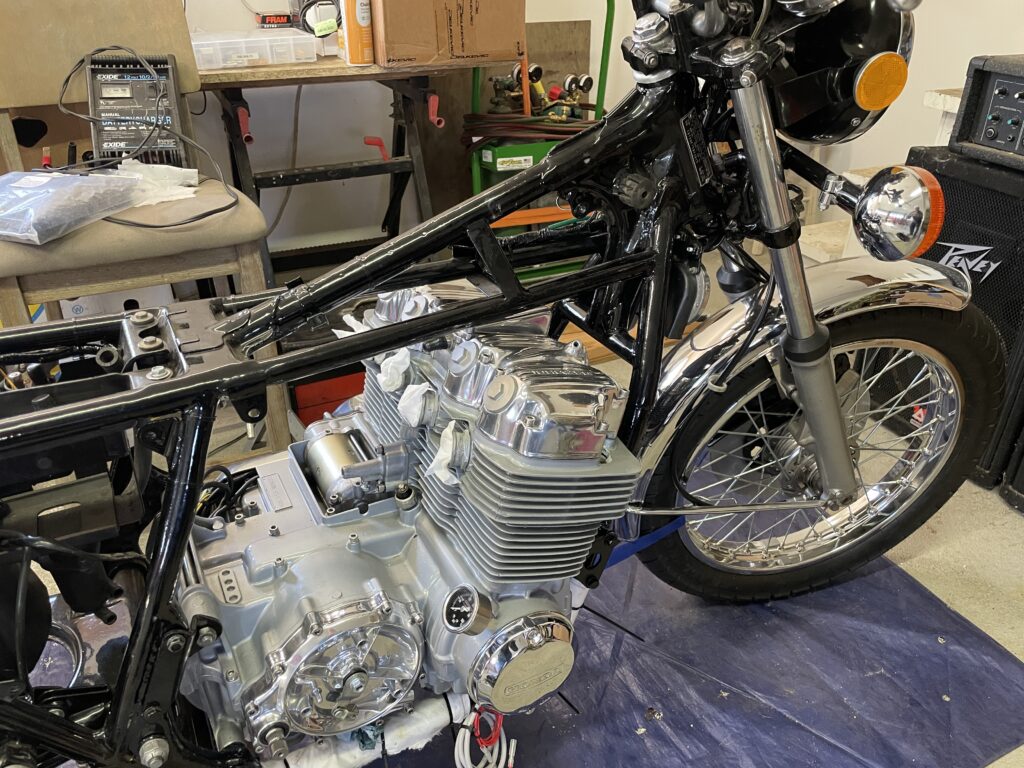
A rolling chassis is a motorcycle or car that has been assembled to the point where it can be rolled around on its own wheels and suspension. It typically does not have the engine installed and most systems are working. Thus was the case here: everything was installed and working except the engine. It was exhilarating to see the motorcycle reassembled to this point and gave me a lot of motivation to keep pushing forward.
Body Work:

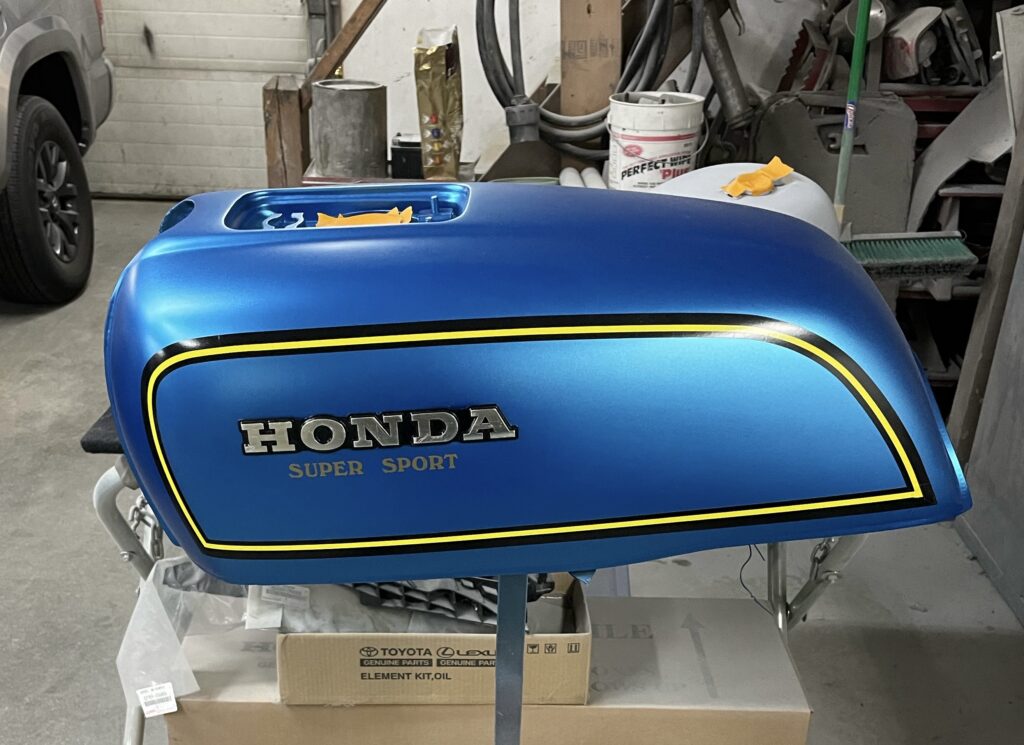
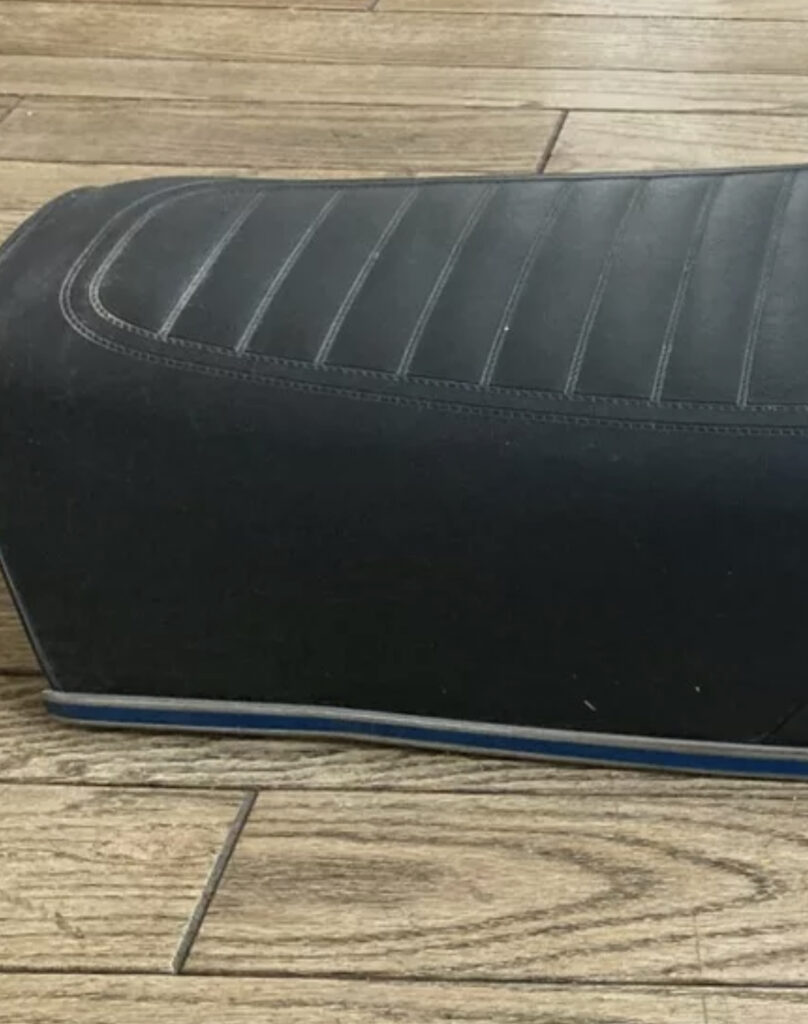
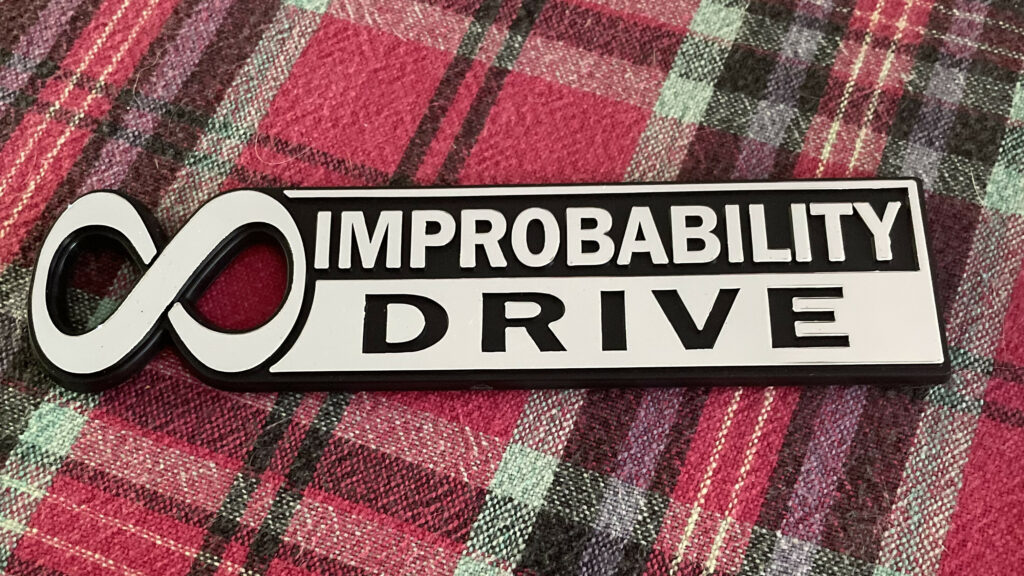
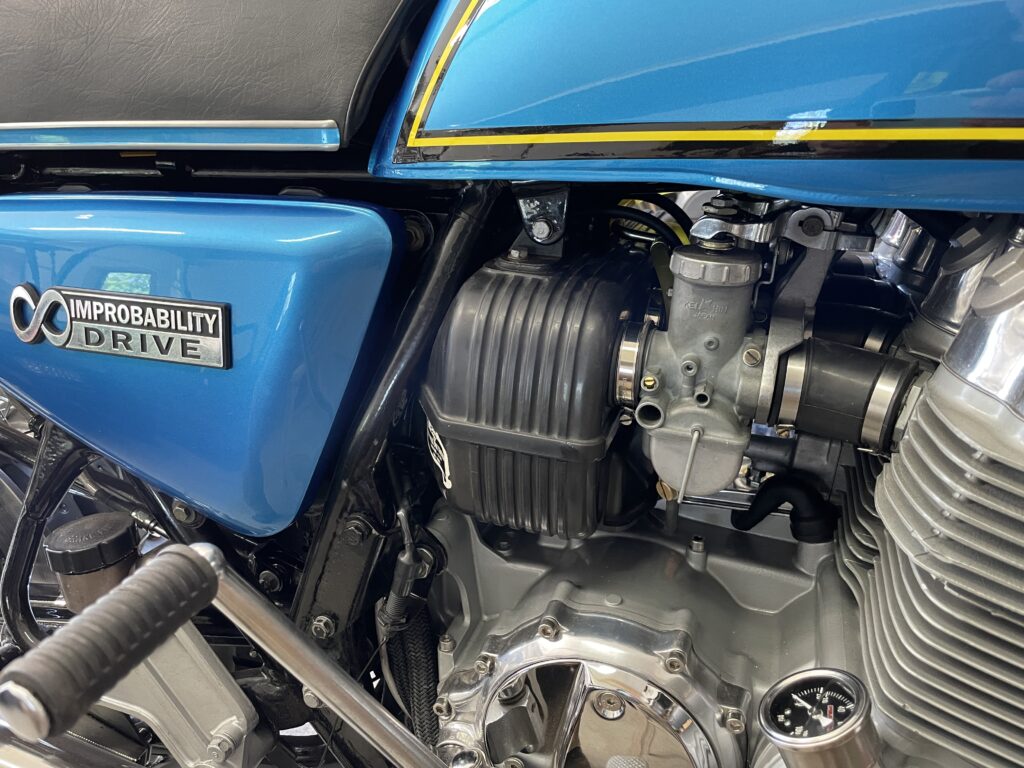
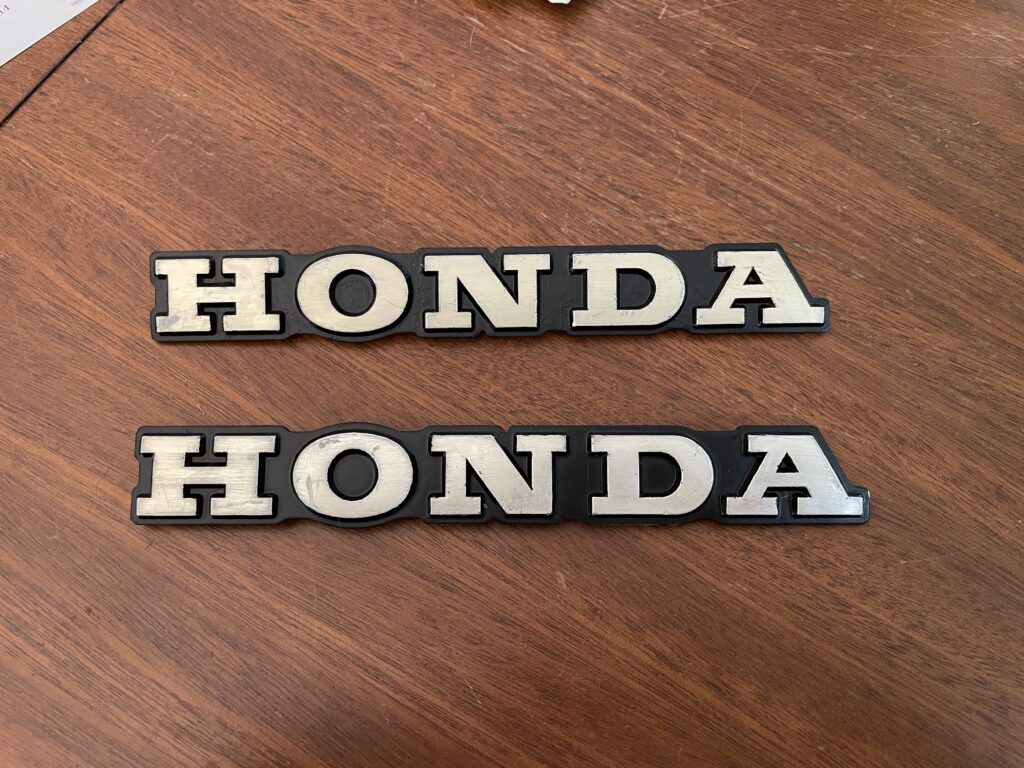
The body work involved the acquisition of rare and difficult to find parts such as a suitable gas tank and seat trim. Jokingly, restorers sometimes refer to these hard to find items as “unobtanium”. Fortunately, I was able to find good used parts which had the potential to be correctly restored. I sent out the fuel tank to be repaired and lined by Moyer Fuel Tanks http://www.gas-tank.com . These old gas tanks are susceptible to deterioration and leaks, particularly above the engine exhaust. I discovered this while riding with an unrestored tank that started dripping fuel on the exhaust. I am not sure why it never caught fire but needed to permanently eliminate this as a possibility. Moyer’s completely stripped, sand blasted (inside and out), metal worked, sealed and primed the tank. It came out well and was ready to be body worked and painted. I also partially restored the seat trim and had this and the body work professionally done through the good folks at Phoenix Cycles in Westbrook, ME https://www.phoenixcycleshop.com/ . The tank and body parts turned out great and I had the seat trim painted to match the tank. The original seat trim came with decals so I considered this a worthwhile upgrade. Instead of the 750-Four emblem, I decided to install a custom emblem on the side covers which reads “Improbability Drive”. This is both a reference to “The Hitchhiker’s Guide To The Galaxy” book and the improbability that this bike would have ever been restored. Perfect!
Engine & Final Assembly:
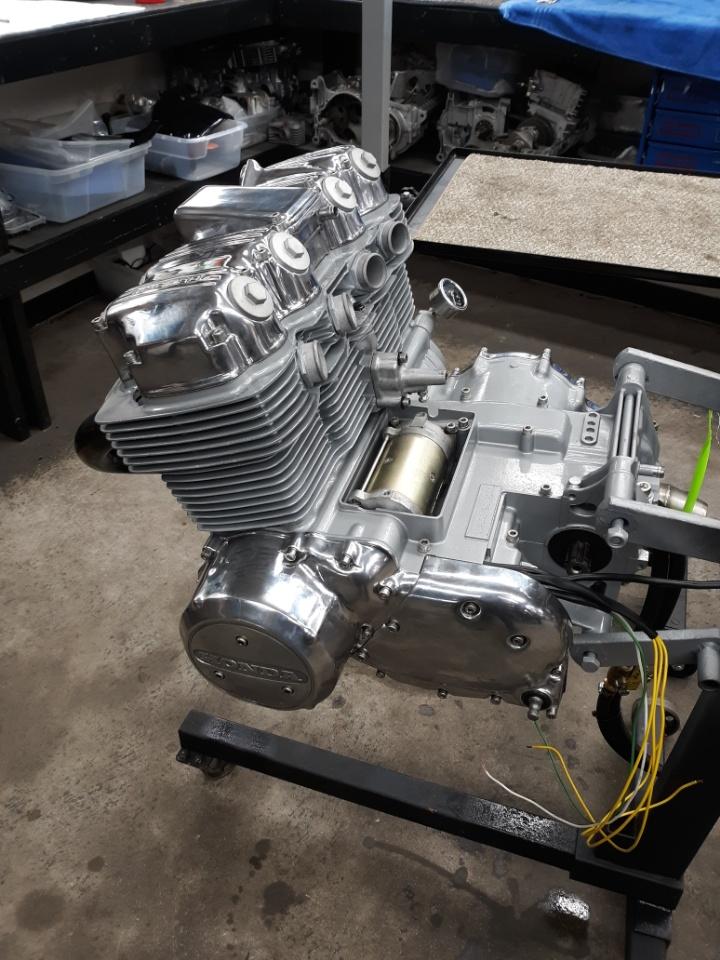
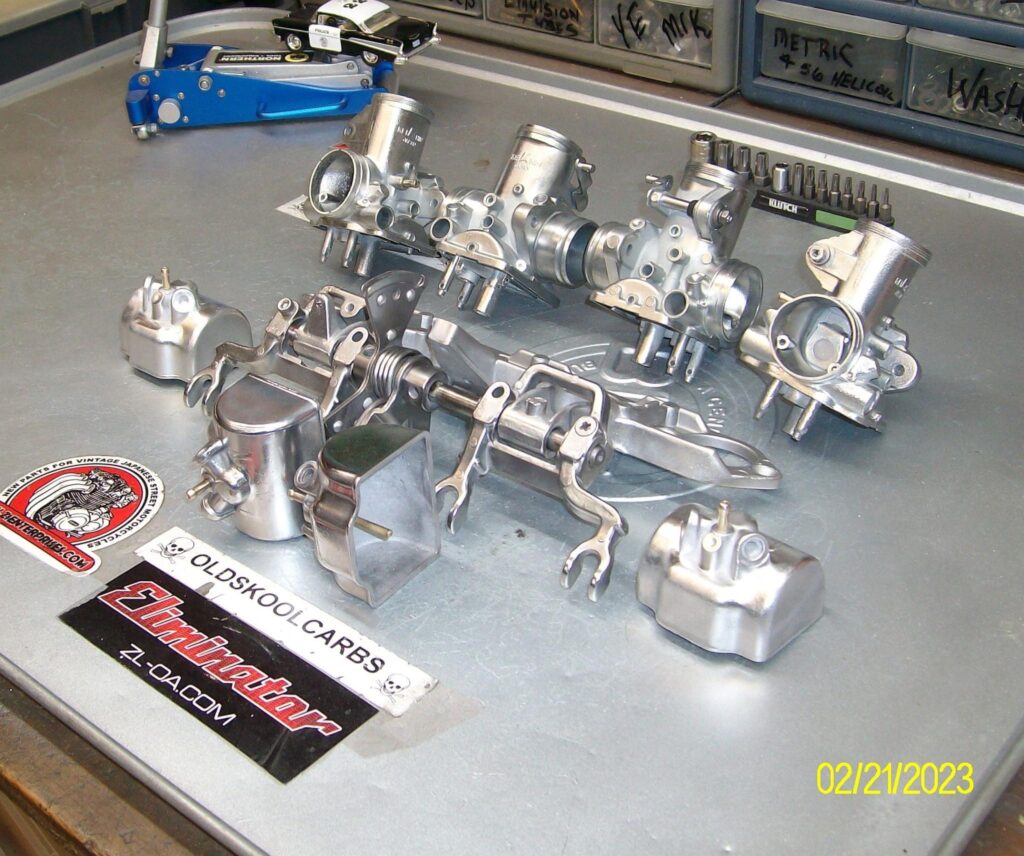
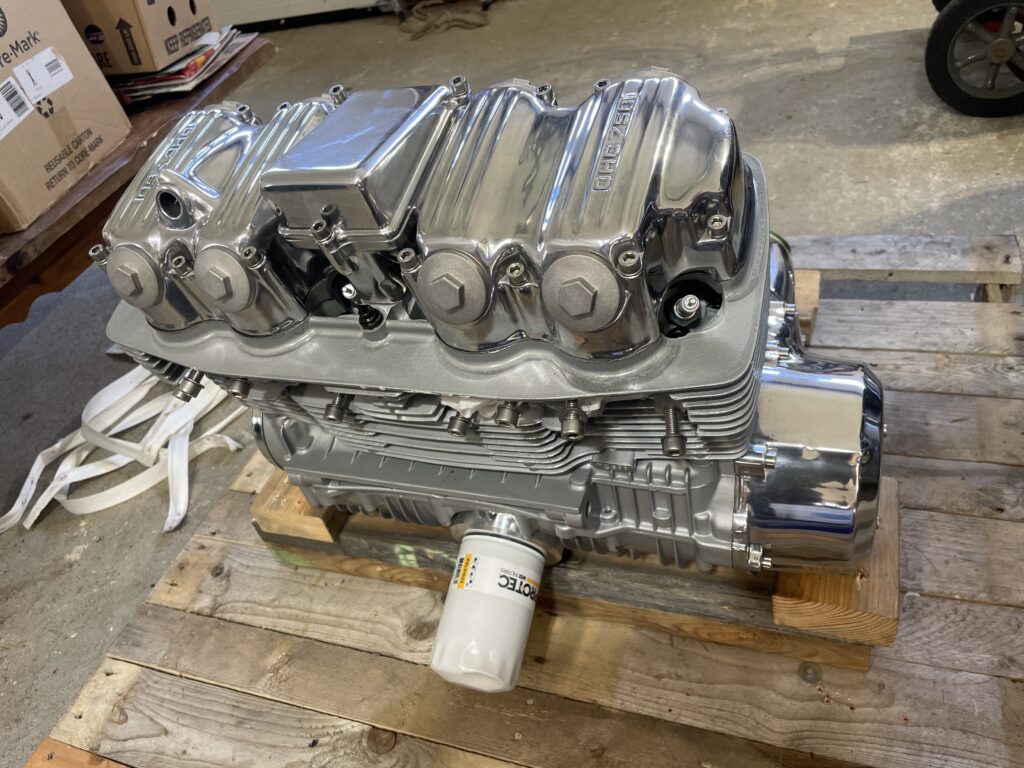
I decided to have the engine professionally built by CycleX in Wisconsin http://www.cyclexchange.net . I cannot say enough good things about Cycle-X, they are friendly, knowledgeable and very helpful. The owner, Kenny, has been building and modifying SOHC Honda engines for many years and could do this engine some justice. I also had him do this because I suffered a major setback during the initial engine build on the parts bike. I had to use the cylinders from this bike on the parts bike in order to assemble a working engine. However, I was left with a set of cylinders that were virtually unusable. Fortunately, Kenny was able to rebuild the cylinders, install a Wiseco 836cc big bore kit and some other performance products. During the build he aptly said, “Oh, your goin’ to love it!”- and I do!
Conclusion:
All that remains are a few final details and tuning but the bike is fully rideable and works great. These old bikes require a lot of tinkering to work correctly and, for me, that is the point of owning them. They have many peculiarities which one needs to understand in order to keep them running properly. I have had the chance to show them in one bike show, the “Blood, Sweat and Gears” show in Westbrook, ME sponsored by Phoenix Cycles. I plan to show them again this year. This project was fun, but also very expensive. I will never see the return on my investment which is now in excess of $16,000 on this bike. At least half of that was the professionally built engine by CycleX. However, it kept me busy during COVID and helped me to focus on other things. For this, the project was entirely worthwhile, fulfilling and fun!
Additional Photos:
